
Oops, I forgot FO Friday! Guess it’ll be FO Saturday this week. Lol
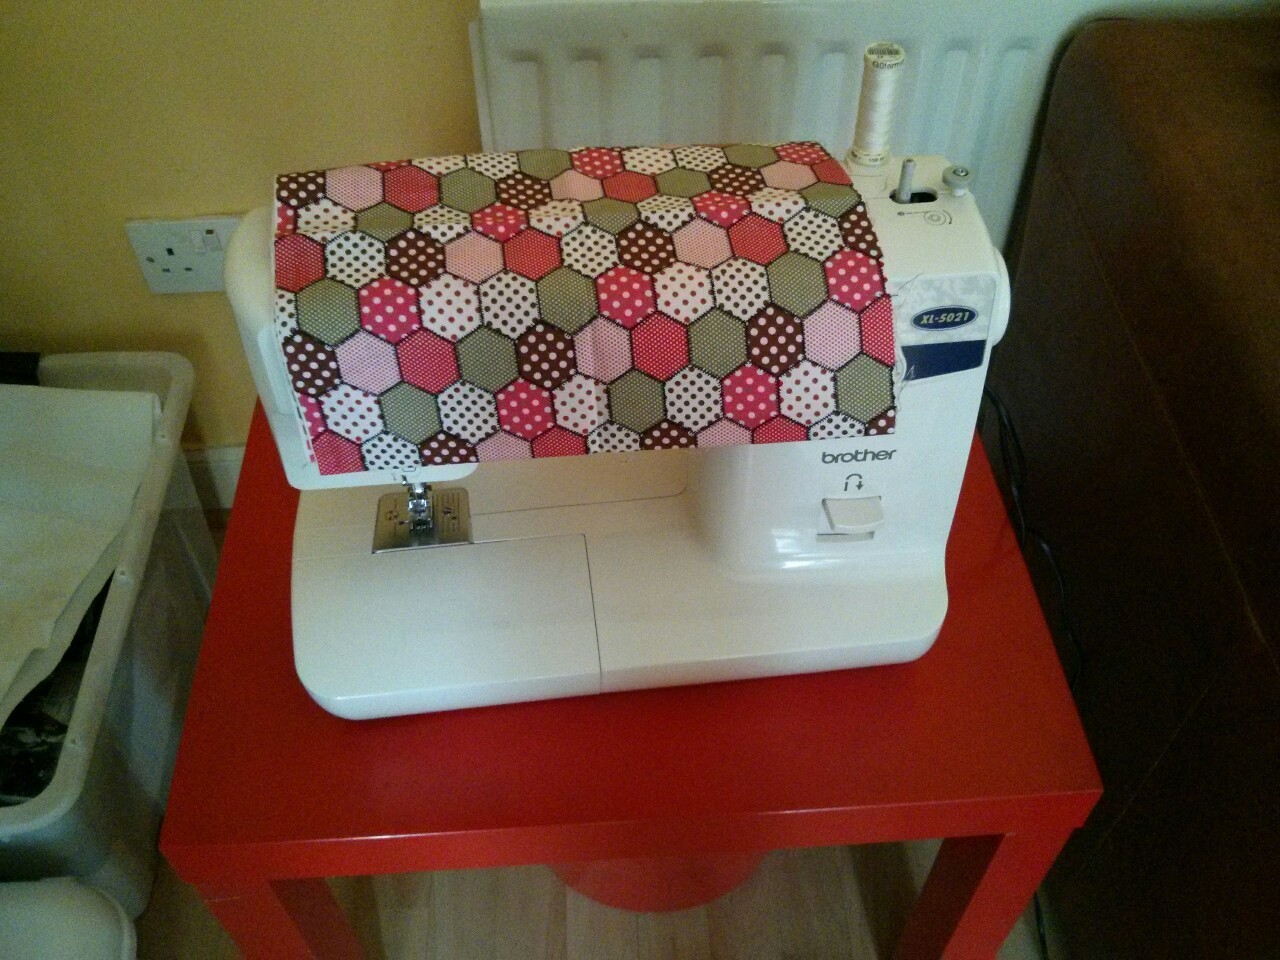
I got a cool fabric remnant off of eBay and decided to make something for myself. I’ve been wanting to try something new for a while now.
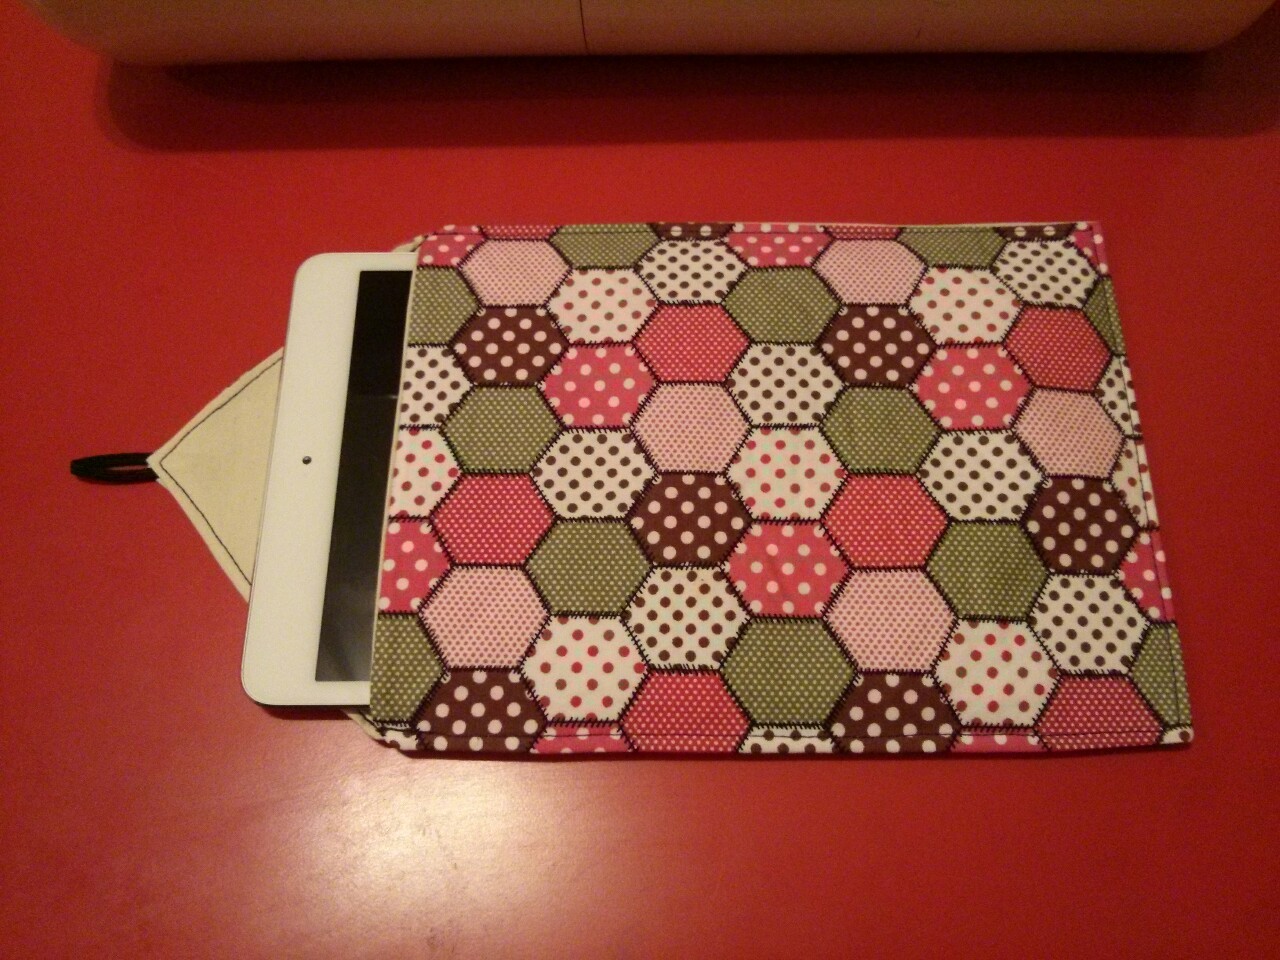
I decided my iPad mini was cold and needed a cover. Here’s my tutorial/explanation on how I did it. :-)
I read somewhere how to measure for a case. You measure your iPad or tablet, add 1 1/2 inches to the width measurement and double plus add 4 inches to the length measurement.
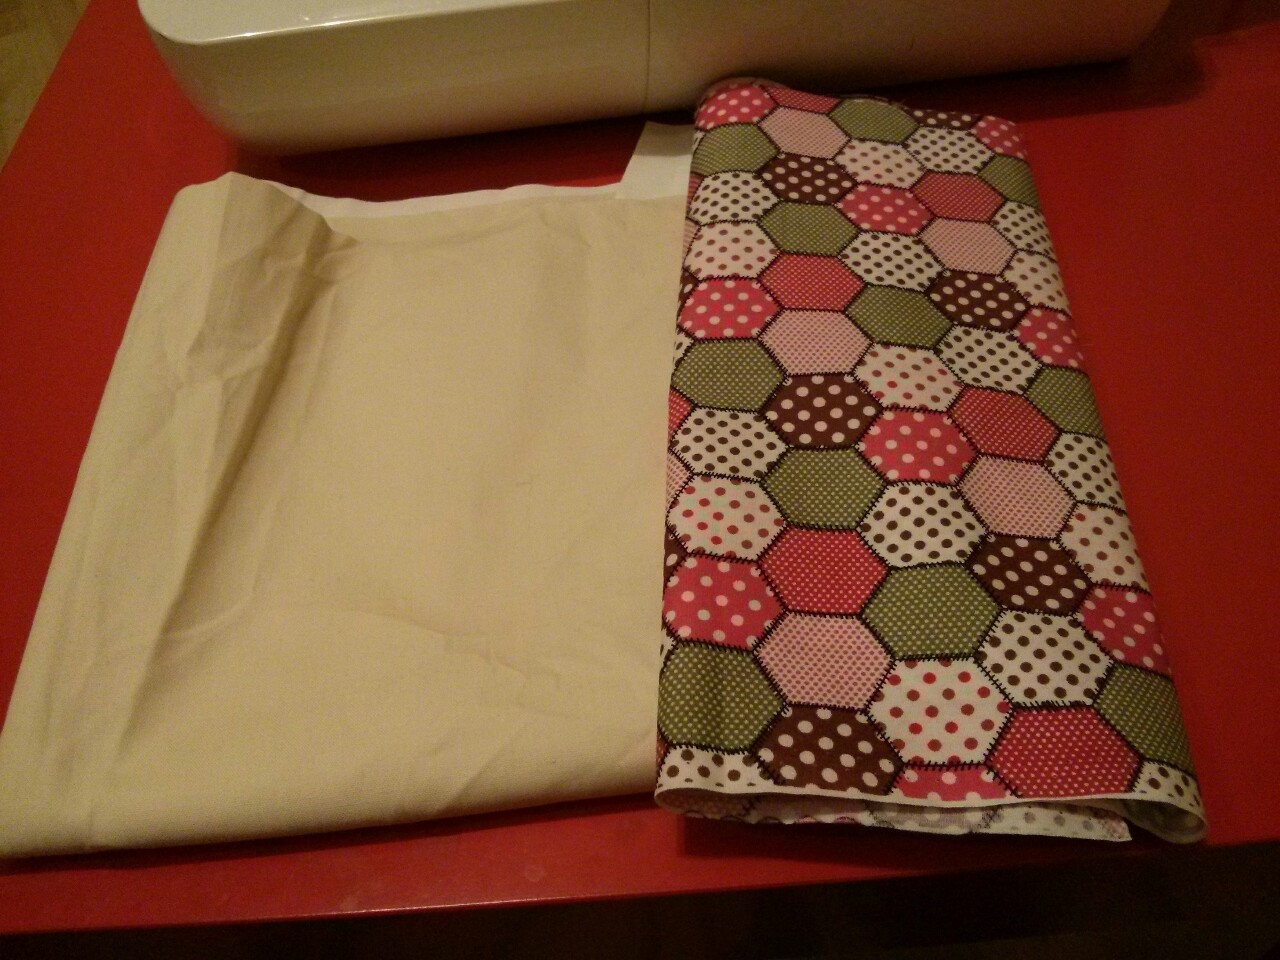
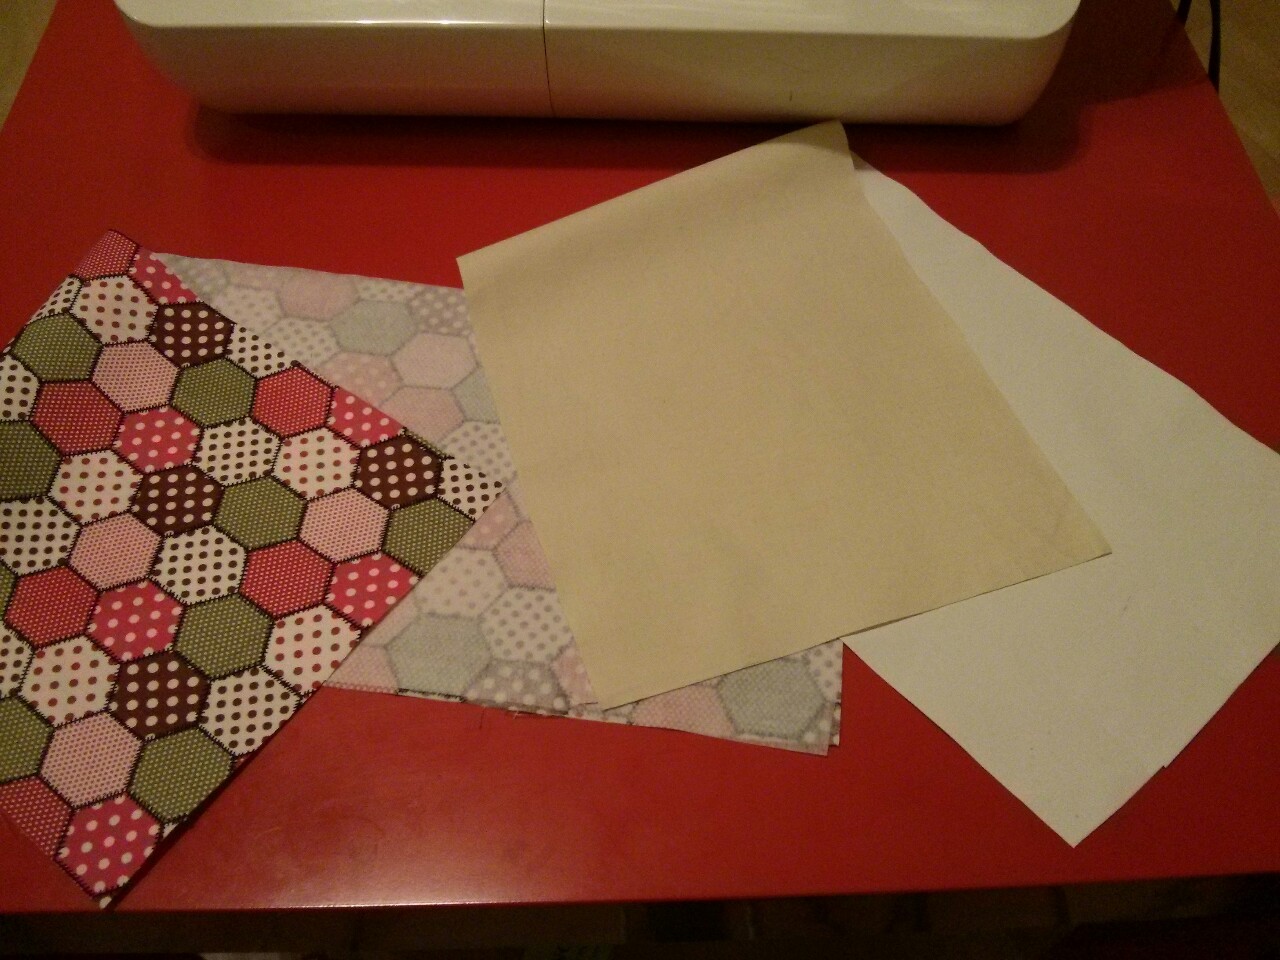
So that’s what I did! I cut out the fabric, lining and interfacing after calculating the correct measurements.
I ironed interfacing to the pretty cotton fabric, and used a scrap fabric I bought recently from a fabric shop for the lining. No ides what sort of fabric it is. One side is smooth and rubbery/slippery, which gave me trouble when sewing cause it kept moving. That was a lesson learned!!
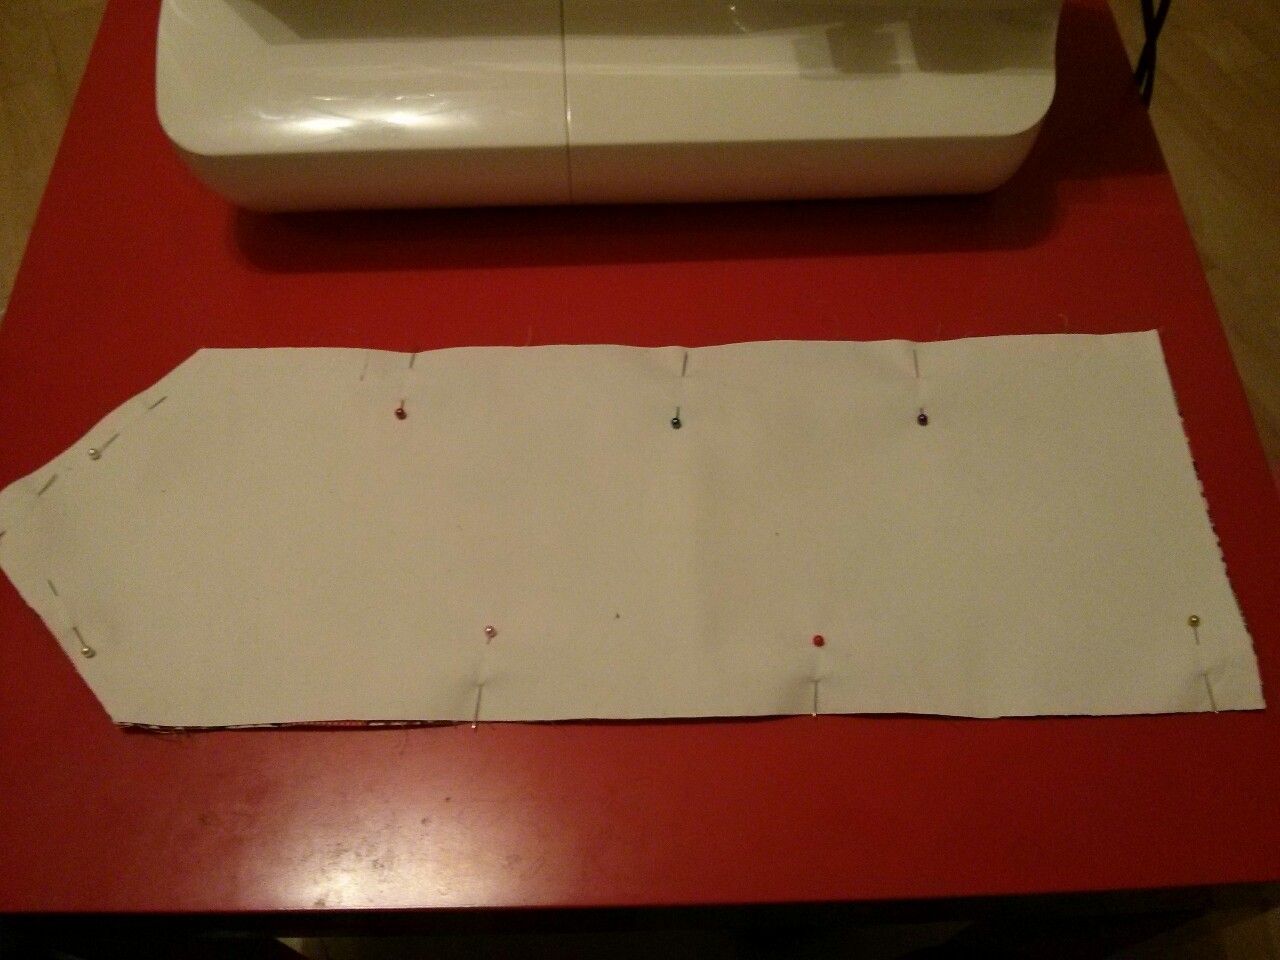
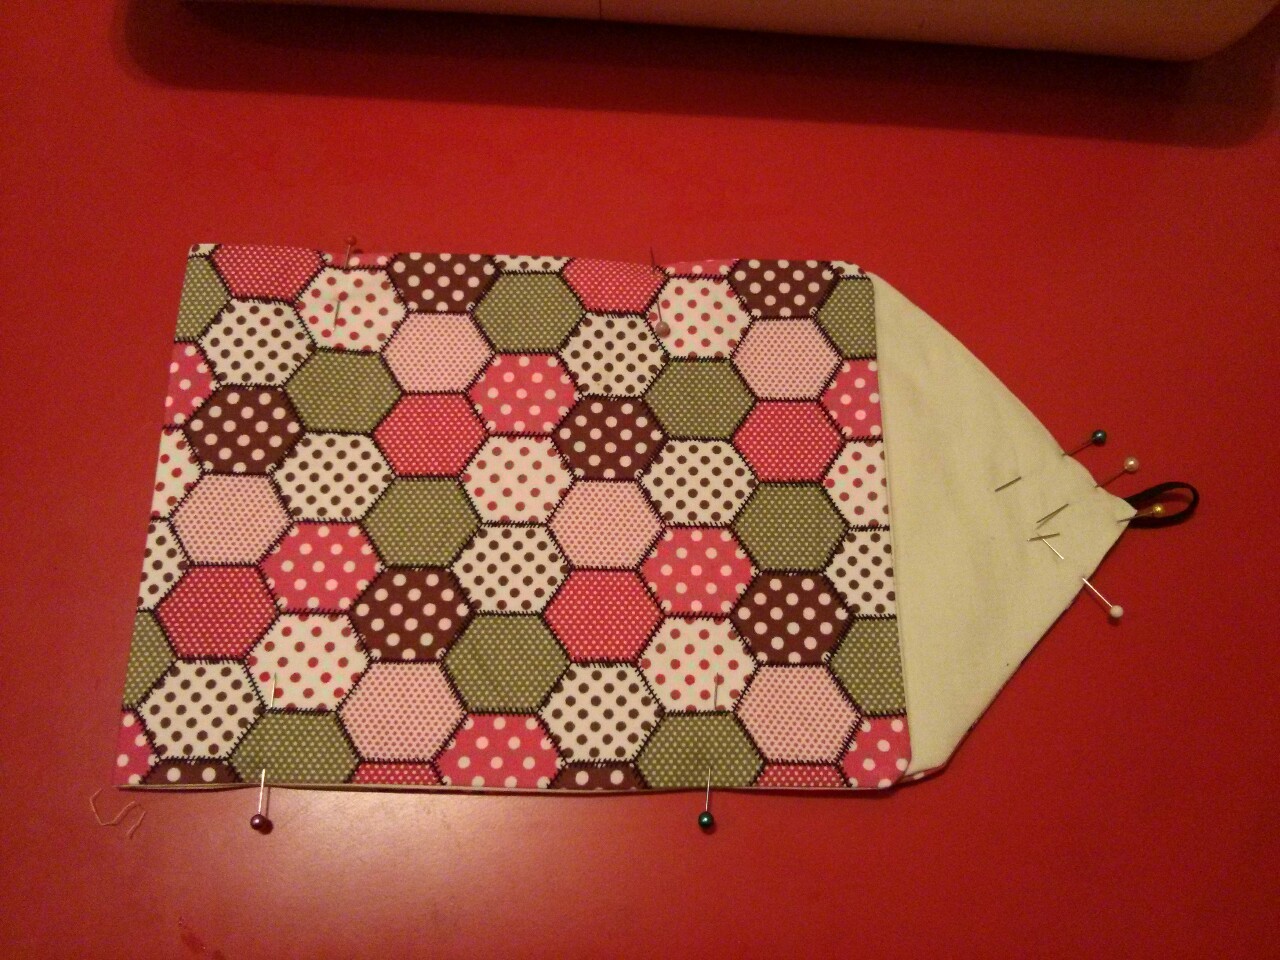
I stitched them together on the wrong side and then turned it the right side out. I left a hole at the top so I could pull it through. Next time I’ll leave the hole at the bottom. I just made things more difficult for myself. Stitching the triangular flap with the elastic in it was very tricky.
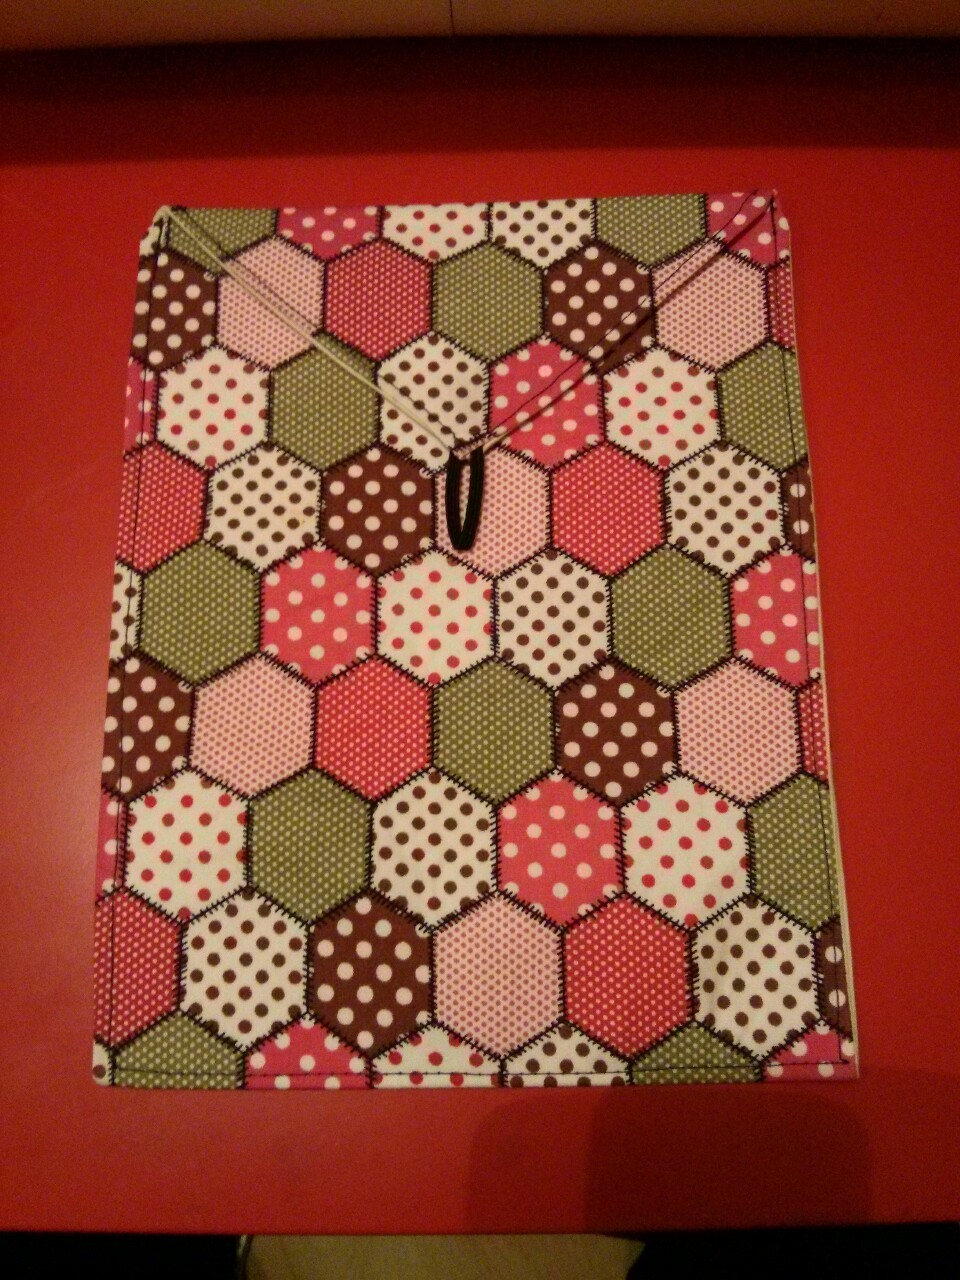
I pressed it and folded the bottom part up to the flap edge and top stitched all the way around. I’m glad I had some elastic to use for the button closure.
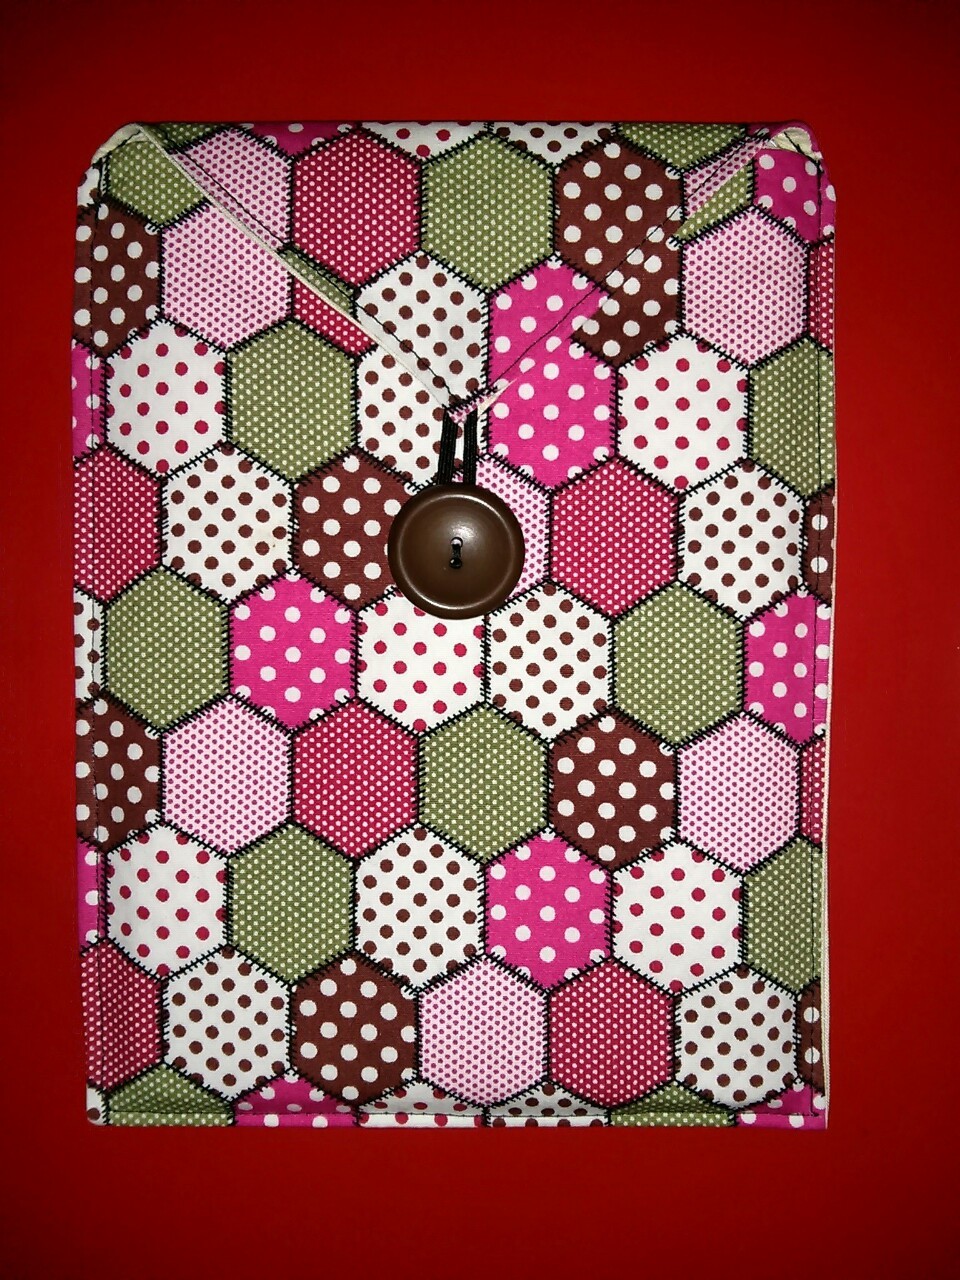
I have quite a few buttons, so choosing which one took me a bit of time. I had to get some help there!
I wish I had sewn the button on before top stitching it closed because it sure was some hell getting the button in the right spot! I stabbed myself way too many times! lol I measured the button placement so next time I can stitch it on before top stitching the cover closed.
I’m happy with the finished product even though it’s not completely even etc. I blame that stupid slippery fabric for that. ;-)
No comments:
Post a Comment